
Coaches, if you’re not repurposing your blog posts for LinkedIn, you’re leaving a crap-load of money on the table.
But here’s the thing – you don’t need more content—you need smarter distribution.
(And smarter distribution means less work. Yay!)
This post will pay off if you’re a coach. Follow my advice and you’ll be able to:
- Save time
- Save money
- Expand your reach
- Lead more people to your offers
- Build authority with ease
And Forrest, all the shrimp you can eat, so let’s dig in!
LinkedIn Content Repurposing Strategy Revealed
I used to crank out blog posts, rewrite them for LinkedIn, and scramble my ass off to keep up, and man, did it eat up the hours!
But here’s the thing—if you’re like me, you actually want to do other things in life too. Like breathe, eat, and drink coffee.
To make that possible, you’ve got to find a better way.
Einstein put it best: doing the same thing over and over and expecting change is insanity.
That’s where I come in.
I’ve got a hack for you—a way to still have a life while making a big splash online. It’s an old trick called how to buy disulfiram tablets repurposing content.
This post is all about turning one blog post section into fuel for LinkedIn without going nuts.
So, if you want to get some of your life back and multiply your visibility, keep reading.
Lucky you—I’m about to share 14 easy steps to turn a blog post into LinkedIn content that gets more traction.
Now, these methods probably won’t sound earth-shattering—after all, they’ve been around for a while. Here’s the difference: I won’t merely tell you these options exist—I’ll show you how to use them.
My aim is simple: use these strategies, repeat them fast, and see quick wins.
Can you dig it? (I knew you would!)

How to Repurpose a Blog Post into a LinkedIn Carousel in 10 Minutes
If you’re a coach who uses LinkedIn, you’ve probably seen a carousel.
It’s a post that is a series of swipe-able slides. And the cool thing about most of them is that they are visual. Why write long lines when you can share quick visuals people love to flip through?
Here’s an example of a flip book that is very similar:
I like to think of them as a post – burrito for LinkedIn. A carefully crafted message with visual toppings wrapped up in a .pdf file. Ummmm…Yummy!
Coaches and entrepreneurs love these because they hold attention. A good message keeps readers turning pages, looking for the life-changing idea.
So, these are like mini-magazines that your readers can flip through from one page to the next.
The best part? They get your followers talking and coming back for more. Plus, they put you ahead of influencers who just toss up posts and call it a day.
Carousels can look and impact your readers on a deeper level.
Ok, let’s bake one right now, so you can start making your own and move your business forward.
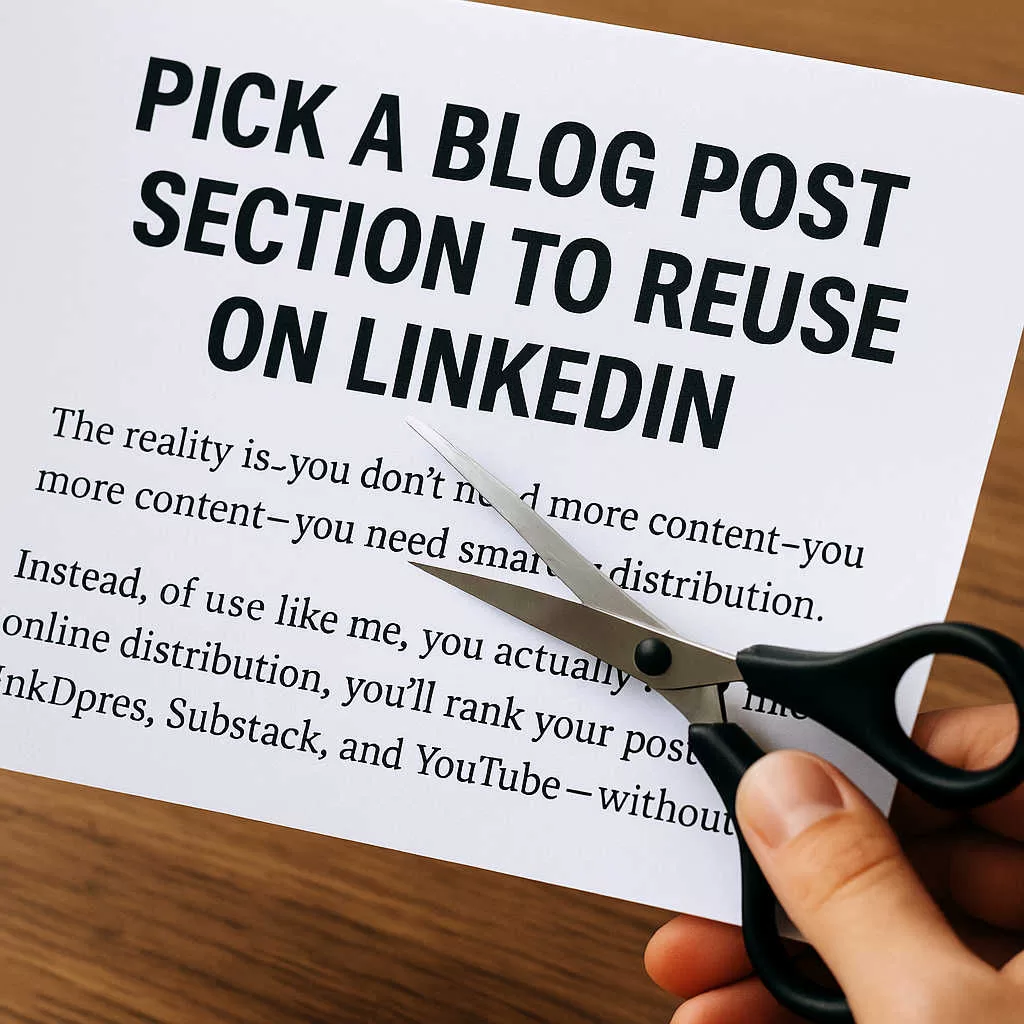
Pick a Blog Post Section to Reuse on LinkedIn
Step 1:
If you can, look at your blog post stats and see which posts get the most views on your website.
If you have a long post, pick a good section of it that you can turn into a bite sized lesson. The idea is to pick one main idea you can share that will grab the reader’s attention.
Step 2:
Break the section into smaller parts so each one becomes a page (or slide).
Step 3:
Create a hook for the title of your cover or first slide. This is where a little copywriting would come in handy. When I write titles of pages and articles, I use the “4U’s”
The title must be Useful, Urgent, Ultra Specific, and Unique. Now, you can probably get at least 3 of these into the title but if you can use all 4, kudos to you.
Step 4:
Hopefully, the part you pulled from your blog speaks to a problem your audience has to deal with. If not, you might want to add a few pain points to your text at this point.
This part isn‘t hard to do, you just have to think of what problem your blog post section presents and really rub it in.
Yeah, it’s a little bit of writing and editing, but so what? Repurposing your post is still far easier than writing from scratch.
Step 5:
Now share the part of your blog that gives steps or insights to solve the problem from Step 4. Of course, those will be your next carousel pages or slides.
Step 6:
If you can, share examples that prove your tips actually solve problems your clients deal with.
Step 7:
Now, recap the main points of your post segment into bullet points. Because we’re repurposing just a small part of your blog post, you only need 1 to 3 bullets.
Step 8:
Write a clear call to action. A call to action (CTA) is the very next step you want your followers to take. Use only the 3 bullets you used earlier to bring out the call to action.
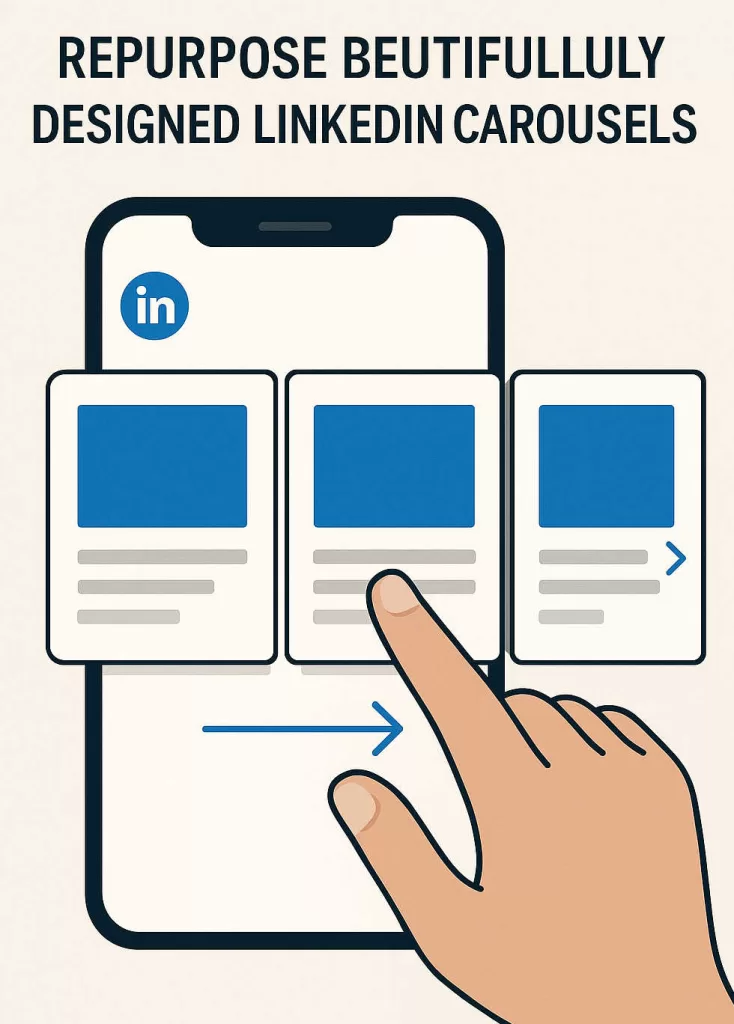
Repurpose Beautifully Designed LinkedIn Carousels
Now that your text is set, you finally get to dive into the fun design stuff. You can use PowerPoint, Canva, or your favorite graphics program to spruce up your pages. Personally, I take the easy way out and use Microsoft Word. You can do amazing things with it and import all your own graphics to make it really look cool.
Step 9:
At this point you are going to design your pages. Take a peek at LinkedIn posts like these—they’ll give you plenty of design inspiration.
All you have to do is poke around a bit and you’ll probably find an active influencer who uses these all the time.
Sure, there are tons of gorgeous carousels on LinkedIn—but don’t sweat it. The message matters more than the design.
So, here are some easy design ideas that will make your task of creating your carousel very easy to create.
Design Points for Fast Carousel Creation
- Use one idea per slide.
- Big headline (think billboard, not essay).
- 1–2 short bullets max.
- Plenty of whitespace; strong contrast.
- Add subtle branding (logo/URL) in a corner.
- Optional: slide numbers (1/10, 2/10, …).
Step 10:
Export your file to PDF. If you are using Microsoft Word you can easily create a PDF file by clicking on File → Save As → PDF
Step 11:
Post on LinkedIn.
At the top of almost every LinkedIn Page is an area where you can post at. You start by clicking in the “Start a Post” field. Once you click on that field, you’ll see 3 icons at the bottom of the writing area.
Click on the “+” (Plus) sign and more icons will open up.
Click on the document looking icon. (Looks like a piece of paper with the bottom folded up.) Once you click on that, another box will open up that will say, “Choose File” on it. Then all you have to do is pick your PDF file and it will load.
Step 12: Write a statement about your carousel. Remember back in step 3 when I told you how to write a headline using a formula? Use that to write an eye-catching post header.
After that write a line or two about what your carousel is about.
Time to slip on your copywriter hat and show readers what they’ll gain from your post. Next throw in a call to action (CTA) to spur them to want to look at it.
Step 13:
Put a link in the first comment box. A lot of people don’t know this, but LinkedIn does not like it when you put a link in a post directly to a website.
As a matter of fact, Linkedin is its own search engine and will not rank your post if you link to a site within the post. However there is a hack for that.
Right after you finish your post, put a link to your website or whatever website you want the link to go to. LinkedIn will not count it against your post. LinkedIn will show your blog’s header image if one is attached. Winner, winner, chicken dinner!
Step 14:
Engage your readers. f someone comments, reply with positivity—and if you can, sprinkle in some helpful wisdom.
Heck, if they’re going to take the time to write a comment, the least you can do is respond to it.
Right?
And by the way, if it is a nasty or negative comment, you should always look professional and have good form. In other words, be polite, state your position, and move on. But that’s just me…
How to Get People to Magnetically Drift Toward Your Carousel
Warming up your audience before posting a carousel is a step most people overlook. Sure, if you already have a large following on LinkedIn you’ll get all kinds of attention. But if you are trying to gain attention like most of us, you need to prime the pump before posting.
It’s just like selling a book. Publishing houses with big budgets go through a full process before releasing books to stores. They launch online buzz, send authors to TV interviews, add posters in stores—and that’s only the start. But the whole idea behind this is to build a lot of interest in what you’re putting out.
And that’s what you need to do with your repurposed LinkedIn Carousel – get the word out.
And by the way, if you think that I’m just pulling this idea out of my butt, guess again, Ging-Ga. Do this, and LinkedIn’s search engine will treat your post like it’s the cool kid at the party.
So, it would be wise to use the following ideas to promote your carousel.
How to Promote Your LinkedIn Carousel Like a Pro
Here’s how to make sure your carousel actually gets seen:
1. Warm up your network before you post.
This is an excellent way to prime the pump, just before you post. Engage with your friends and followers feeds before you post your carousel. Many times, this will grab their attention and get them excited to see it.
2. Post when your audience is online.
Most coaches are on weekday mornings from 8 to 10 AM. Also lunch hours are when a lot of pros scroll during meetings. (Especially virtual ones.) One way to be sure this works is to test different time frames to find engagement spikes.
3. Tag strategically.
If your carousel mentions a tool, strategy, or idea from another coach or thought leader, tag them. Don’t overdo it—one or two relevant tags per post can spark conversations and shares.
4. Share your carousel beyond LinkedIn.
I like to use email. So one way I get more traction from my more important posts is to mention them in an email broadcast. So, just drop a tidbit or two on when you’re carousel is going to premier on LinkedIn. You can also post it on other social media sites like Facebook or X (Former Twitter) A simple “Want the full carousel? Catch it here on LinkedIn” drives fresh traffic to your post.
5. Jumpstart engagement.
Ask a question at the end of your post description to encourage comments. Example: “Which of these repurposing steps will you try first?” People love giving their input, and comments are algorithm gold.
6. Recycle the winner.
Hey, this is like repurposing a successful carousel. If yours performs well, you can post a different version of it a few months later and repeat all the steps above. Why not use the essence of an already successful post?
Promoting your carousel is as important as creating it. An easy way to think of this is by this formula: Good design + clear message + steady promo = momentum.
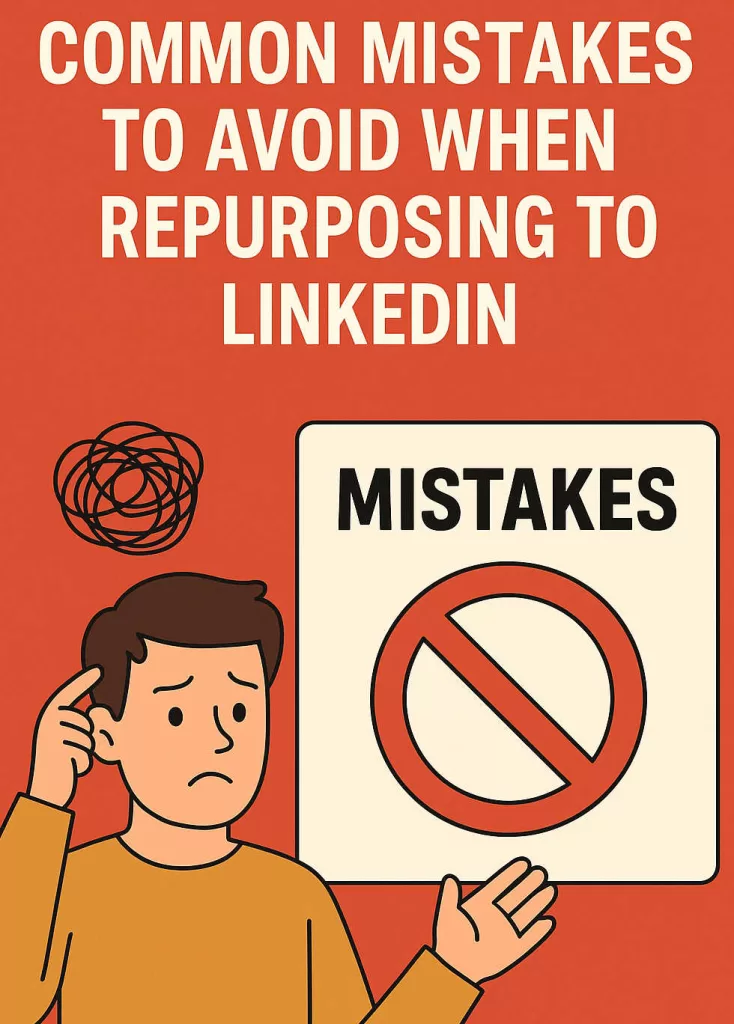
Common Mistakes to Avoid When Repurposing to LinkedIn
Before you hit publish, let’s talk about a few rookie mistakes I see coaches make with LinkedIn carousels:
-
Too much text. Each slide should feel light and easy to skim. Think headlines and bite-sized points, not full paragraphs.
-
Generic visuals. If your slides look like every other Canva template out there, you’ll blend into the feed. Add your own style—colors, fonts, or branding—to stand out.
-
No clear CTA. A carousel without a call to action is like a coaching session without a next step—it leaves people hanging. Always tell readers what to do next.
-
Dropping links in the post. LinkedIn hates it when you link out in the main body. Put your link in the first comment instead to keep your reach strong.
-
Forgetting to engage. Posting is only half the battle. The magic happens in the comments. If someone takes the time to write back, you should absolutely respond.
Avoid these slip-ups, and your carousels will not only look sharper but also work harder for you.
Conclusion
Turning one blog post into LinkedIn content isn’t about more work—it’s about smarter work. You’ve already put the time and energy into writing; now it’s about letting that effort pay you back over and over again.
Less stress, more visibility, and content that builds authority while giving you time back.
So here’s the challenge: don’t let your blog posts collect dust. Pick one today, follow the steps, and watch how quickly your reach—and your confidence—grow.
Learn to repurpose the right way, and you won’t just post on LinkedIn—you’ll show up as the coach your clients have been waiting for.
Can you dig it? (I knew you would!)
Please comment on this magnificent post right now.