
Paintshop Pro will make sure you’re not making a HUGE mistake in your best place to order isotretinoin online blogging.
One of the biggest sins in blogging is having a B-O-R-I-N-G blog with B-O-R-I-N-G posts.
Even if your words are dynamic, compelling, and funny, you can still miss the boat.
The reason why words are not enough is that buy ivermectin pills people like images. If your posts don’t have images that help you connect your words to your readers, you’ll lose your audience.
There are two reasons why you are not posting images.
Reason #1: You don’t have the time to learn and use complicated programs.
Reason #2: You don’t have the bucks to buy an expensive graphics program.
In this post, I’m going to show you exactly how to overcome these two obstacles.
Not only that but if you stay to the end of the post, I’m going to tell you how you can learn to make your own original images.
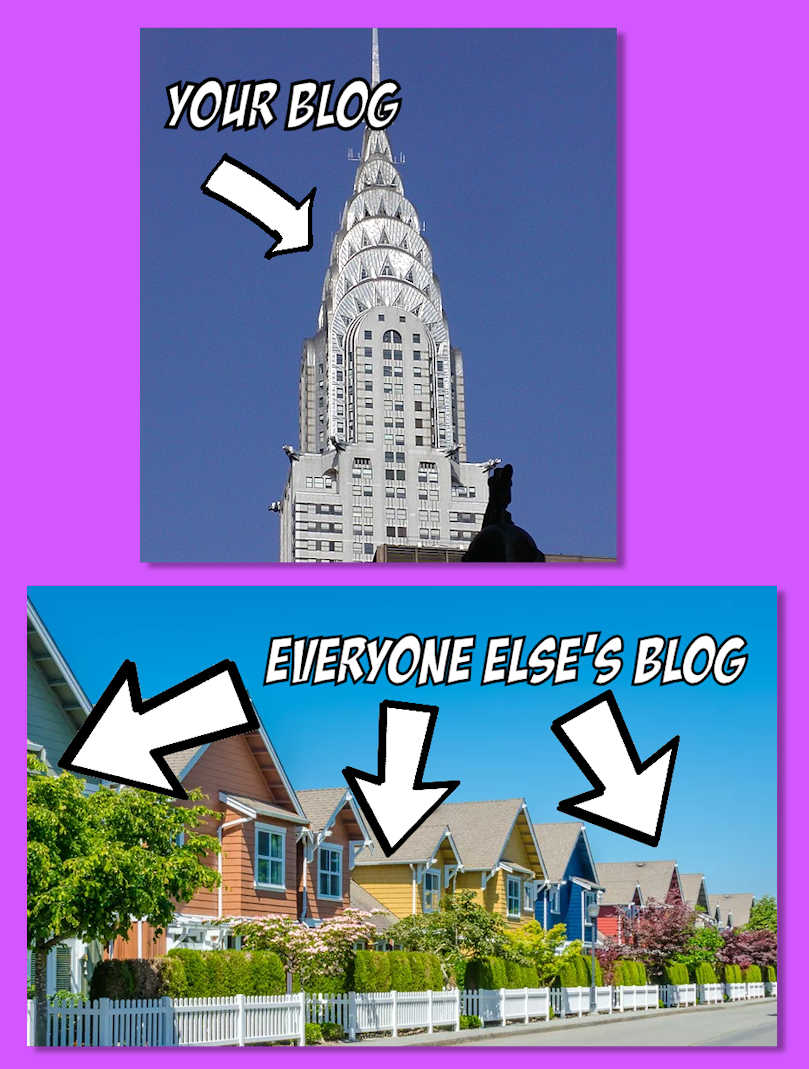
Once I show you this, your blog will shine like the top of the Chrysler building.
Ready?
(I know you are.)
You’re Dumber than a Bag of Hammers if You Do This
Ok, I’ll admit it. Adobe Photoshop reigns supreme among photo editing software.
I love it. It is a God in the software industry; it’s so good it’s scary.
One reason why I won’t buy it is that it is very expensive. Back in olden times, you could get it for a few hundred dollars. Now, it’s astronomical.
As of this writing, (2018) it’s listed at $239 a year.
Yeah, you don’t pay for it once – you have to pay for it yearly.
But I’m sure there are those of you that are thinking, “Gee Jim Bob, we can afford that, can’t we? I mean it’s only $239 a year. What’s so bad about that?”
Here’s the problem with that. If Photoshop keeps its pricing in place (it will probably go up a little every year) within 5 years you will have paid out $1195 to use it.
If you had taken that money and invested into a yearly compounded interest account at a measly 4% interest you will have had $1460.
Over 10 years you will have shelled out about $3,553!
Now that’s a good deal if you’re a graphic designer making serious money, but if you need images for your blog, it’s way too much.
Not only that, but you have hosting costs, email marketing costs, and others to consider. Adding $239 a year to all of that is a stress on your operating costs
You’re Complicating Your Life Too Much, Bro!
Because Adobe Photoshop is so high-end, learning how to use it takes dedication and time. I’ve known a few Photoshop gurus and they’ll tell you it takes years to learn half of it.
And most people won’t even get that far.
So the question begs…
If you’re going to use a heavy-duty program like Photoshop, why would you pay to use a fraction of it?
And when you’re writing, you don’t have time to spend weeks or months trying to learn how to use it.
Another issue to consider is that the only way you can get Photoshop is to download it and use it online. I don’t know about you, but if I’m spending over $200 for a program, I want a copy of it on my shelf.
I live in what is called the digital divide; we live out in the sticks where we can’t get cable Internet. So, I’m fortunate enough to live on top of a hill and I receive my Internet through a radio frequency tower.
There are many times when my signal is interrupted and I can’t connect to the Internet.
The wonderful folks at Adobe want to keep a tight rein on who are using their programs. (Piracy issues, I suppose.)
When you use Photoshop through Adobe’s cloud, you have to connect to the Internet. In my case, that won’t work. So if you have issues with connectivity, you might have a problem with Photoshop.
Just sayin’!
The Frugal Writer’s Alternative to Photoshop – PaintShop Pro 2018
Yeah, I’m a frugal writer; I try to keep my operating costs down.
Most writers will tell you that you need to reel in your finances – especially when you’re just starting.
Good advice.
So, the program I use is Corel’s PaintShop Pro 2018. I started using PaintShop because I could no longer afford to use Photoshop.
It was a sad transition because I loved Photoshop. However, once I got PaintShop and learned it inside-out it was perfect for my blogging and copywriting business.
I’m now a PaintShop fanatic because I love it.
One of the big reasons for this is the price. The 2018 version of PaintShop can be had for a mere $70.
Note: Actually, my wife got me the latest version of PaintShop for Christmas last year at Amazon’s Black Friday sale. It only cost $35. Yeah, $35 bucks…Amazing!
Oh, It’s Cheap…So it Must Suck!
Usually, you get what you pay for.
I’m a big-time advocate of quality over cheapness. I once bought a Dyson vacuum cleaner for over $500. All my buds reeled in abject horror because it cost so much.
Guess what? That sucker has lasted for over 12 years until my wife finally broke a piece of it. Up to that point, we were buying cheap vacuum cleaners at a rate of one a year. Either they got all kinds of crap stuck in them or they didn’t work.
So, I get it; quality over cheapness. However, PaintShop Pro is an exception.
For one thing, Corel has been around even longer than Adobe. It was the pioneer of the very first graphics program sold to the public – CorelDRAW. This company has been turning out quality programs since 1985.
Corel didn’t stay in a highly competitive market for 33 years by producing crappy software.
So their positioning has been to try to provide high-quality graphics programs at reasonable prices.
WORKS FOR ME!!!!
Another point I want to make is that you don’t need the best equipment to become successful.
- Babe Ruth paid less than a dollar for his first baseball glove.
- Louis Armstrong got his first trumpet for free.
- Bill Gates used a free teletype that connected to a computer over a phone line. It was provided by a “mother’s club” at school.
- The famous writer, Harlan Ellison, won more awards in writing than anyone in history. He got a used Remington Noiseless Portable from his mom in 1951 for under $10.
The Point Being: You don’t need expensive, high-end stuff to succeed!
Do You Want to Be Owned by a Group of 7th Graders?
Ok, so there is a learning curve. I learned how to use most of the program in about a day.
Just to be fair, I had been using other photo editing programs for years. So when I got my hands on PaintShop Pro, it was easy for me to learn how to use it in a day or two.
True Story…
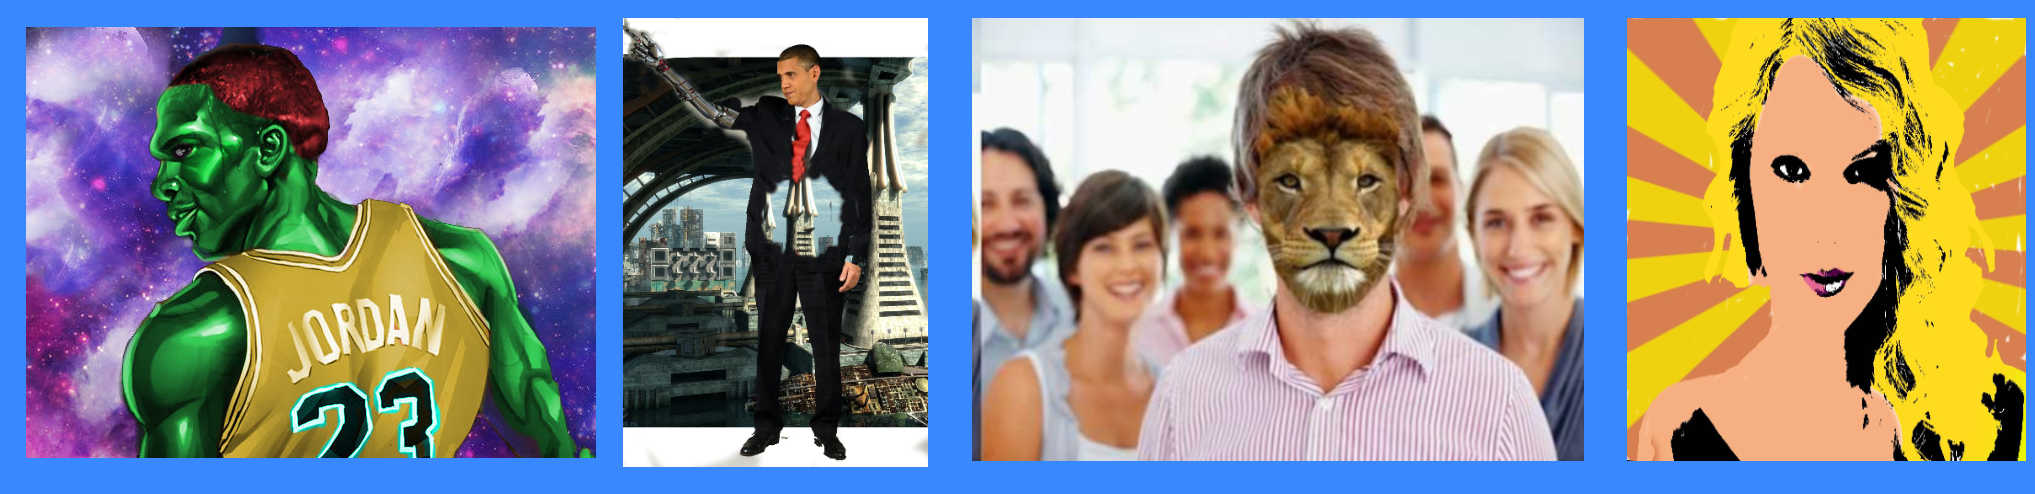
I used to be a technology teacher at a private school. I taught 7th graders how to use PaintShop in a total of 3 hours of class time.
They wanted to learn how to make zombies and aliens.
Here are a few of the images they created:
If you’ve ever encountered a mob that can get impatient, just try to teach 7th graders. They’re worse than corporate execs; they want results, and they want them now!!!
It only took them about 30 to 45 minutes to create these images.
So to be able to learn PaintShop Pro in just a few hours is doable for just about anyone.
(By the end of this post, I’m going to tell you how you can learn most of this program super-fast. So please, keep reading.)
How Can I Use PaintShop Pro 2018 for Blogging?
First of all, you remember my statement from the beginning of this blog, don’t you?
You DO NOT want your blog posts to be boring, right?
Just to hammer into your mind how important it is for you to have posts that hold your reader’s attention, look at this statistic:
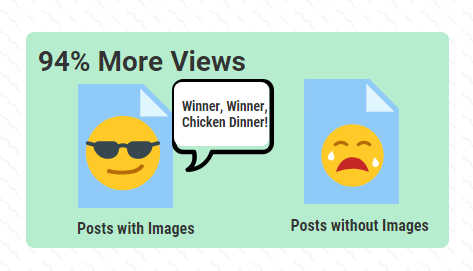
Blog articles with images get 94% more views than articles that don’t. (Source: Optimind Technology)
One of the reasons why it’s so important for you to have relevant images in your post is because of this factor:
PEOPLE READ BOOKS. THEY DON’T READ ONLINE POSTS LIKE A BOOK…THEY SCAN THEM.
Advertising copy guys learned this junk an eon before there was an Internet. Take a look at this ad from back in the ’60s:
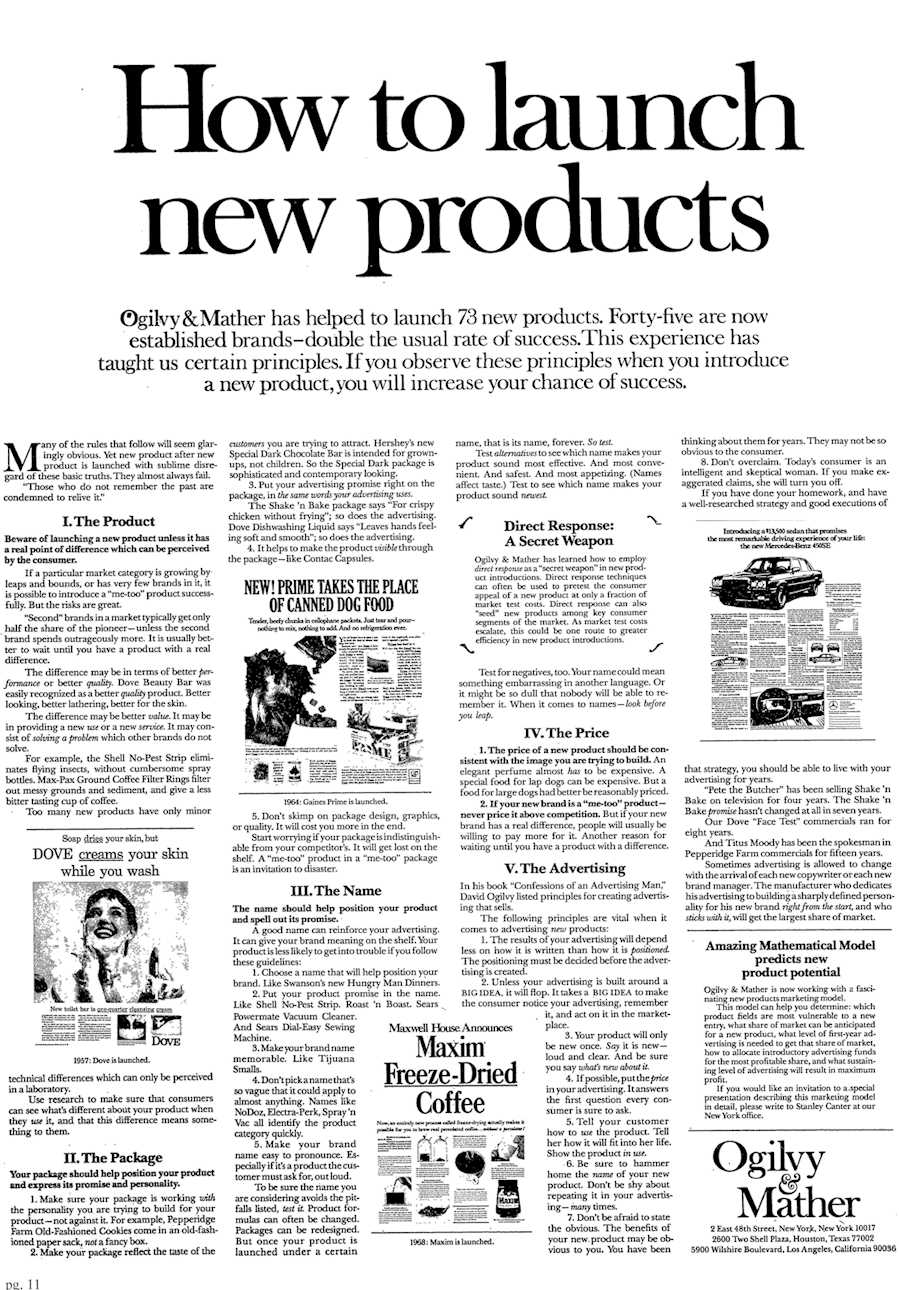
(Source: Ogilvy & Mather)
This ad was produced by one of the top advertising agencies on the planet. Back in the pre-Internet days, you had to pay big bucks to get an ad published like this in a well-known publication, so the stakes were high.
They knew that people scanned the advertisements more than they read them, so they had to pull out every trick in the book to get people to look at them.
Point being: You need images in your posts!
How to Get Original Images for Your Blog Fast with PaintShop Pro
Ok, so I’ve beaten you to death with the point that you need images for your post. Now, I’m going to show you how to create an original image for your blog with PaintShop Pro.
(Just so you can see how easy it is…)
Step 1: Find a Royalty Free Image to Alter
Do not surf the net and just grab any image. First of all, tons of images are copyrighted and you could get into some legal trouble.
Second, if other people are using the same images, you will appear generic rather than unique.
Now, you could make the argument that grabbing an image from a royalty-free site will make you look generic too. And that’s a pretty fair assessment, except you are wrongo-bongo on a few points:
- There are tons of royalty-free images being created daily for you to use. You just need to know where to find these images.
- You will be using PaintShop Pro to alter these images and make them look different.
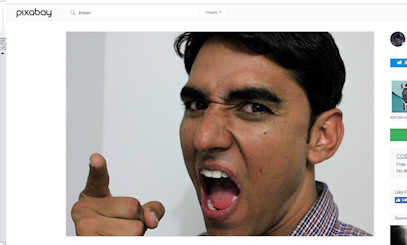
I like to use Pixabay to get my images. So I usually head over to that site to get an image that someone has posted for free.
Once I find the image that I want, I then click a green button on the left and download it for free on my computer.
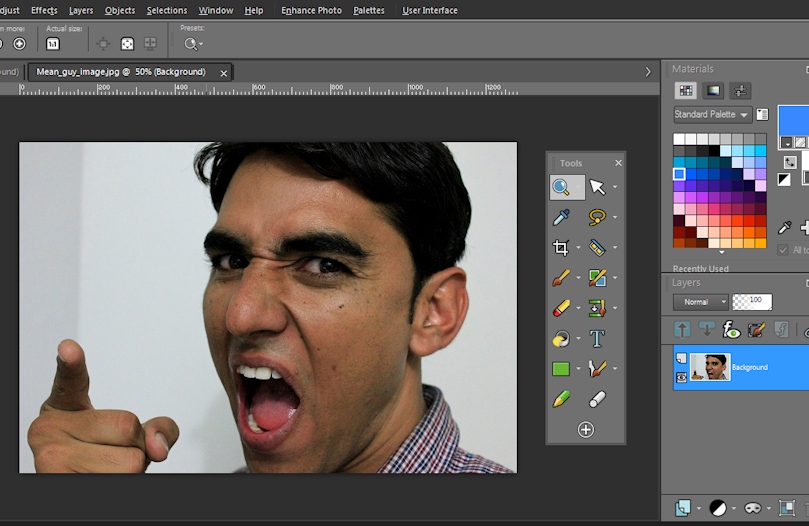
Step 2: Editing the Image in PaintShop Pro 2018
Once I have the image I want to be downloaded into my computer from Pixabay, I can then begin to edit it.
All I have to do to get started is to open the file from my computer.
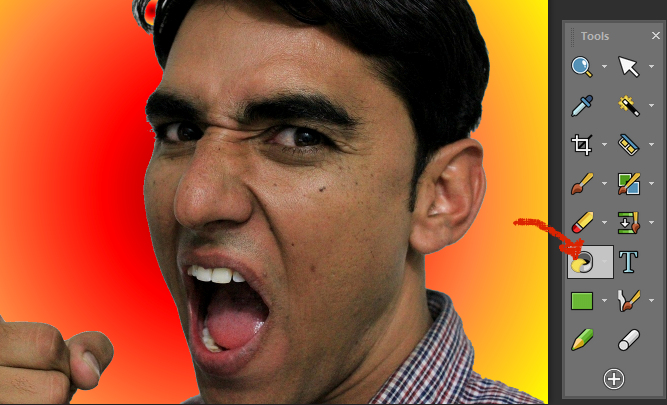
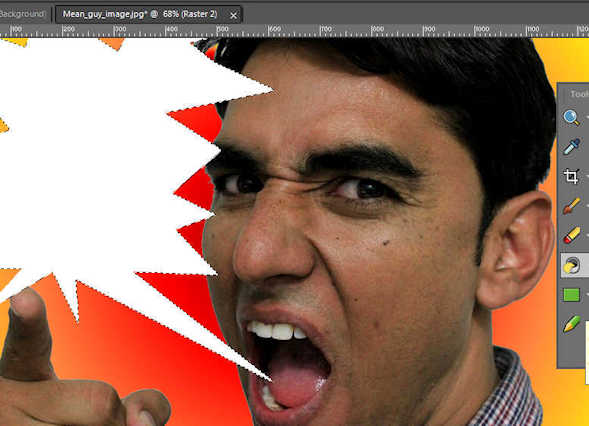
I’ve decided to take out the background so I use the magic wand tool in the tool palette to remove it.
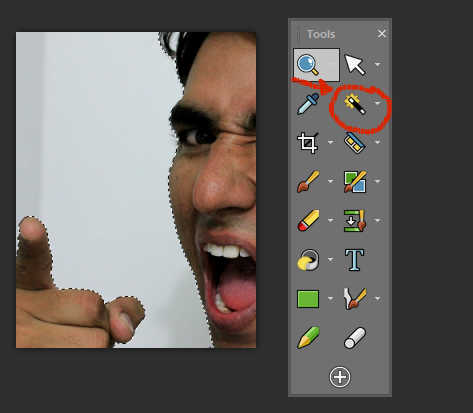
When I left-click on the background area with the magic wand you can see the area I want to remove is selected because there are dotted lines.
To get rid of the area I’ve selected all I have to do is right-click: Edit à Cut.
I want to add some color to the background, so I left the background selected and double-clicked on my color pallet.
This opened my material properties pallet. I left-clicked on “Gradient”, selected the gradient I wanted and left-clicked on “Radial” for the pattern.

Using the Paint Bucket tool, I dropped in my gradient color into the background by left-clicking on the selected area.
Now my image looks like this:
Step 3: Adding a Word Balloon
Now, we are going to add a word balloon. Using the “Selection Tool” from our pallet we will use the “Point to Point” option to create a dynamic word balloon.
Before we do that, we need to add a new layer. Go to the layers pallet and left-click on “New Layer” Left-click on “New Raster Layer”.
With the new layer selected, click on the Selection Tool in the Tool Pallet and then click on the “Freehand Selection” tool. In the options menu, click “Point-to-Point.”
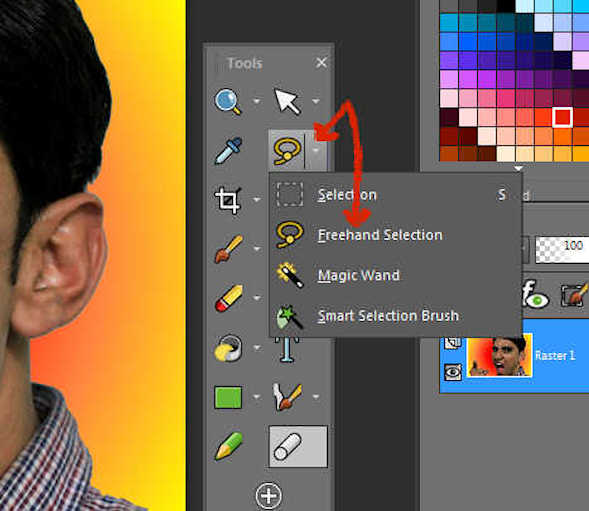
Here’s where you’ll find the “Point-to-Point” options:
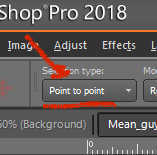
Once again, using the “Point-to-Point” option, create a series of straight lines and connect them to make a dynamic text balloon.
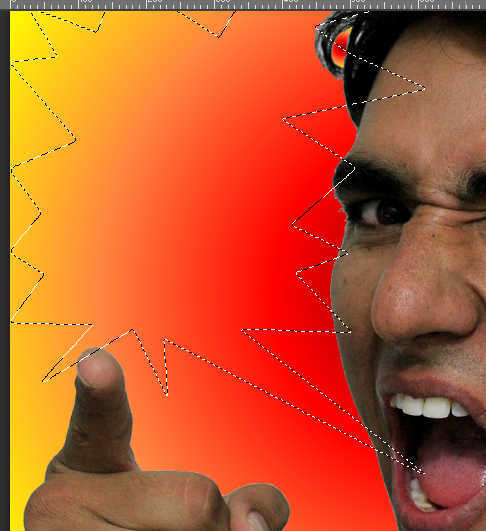
Now, left-click on the Paint Bucket (also known as the Flood Fill tool) and select the color white from your colors.
Left-click in the selected area; now your image should look like this:
Step 4: Dropping the Text into the Image
To drop your text into the image all you have to do is click on the “Text Tool” in the Tool Pallet, and then left-click somewhere inside the image.
(You’ll notice a vector layer will automatically pop up. That is the layer where your text will reside.)
Note: Before you type in your words go to Selections Then Select None on the menu.
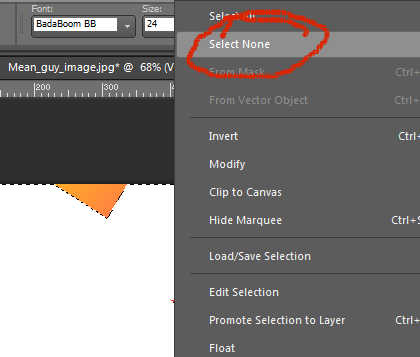
All you have to do now is select the font you want and type in your words.
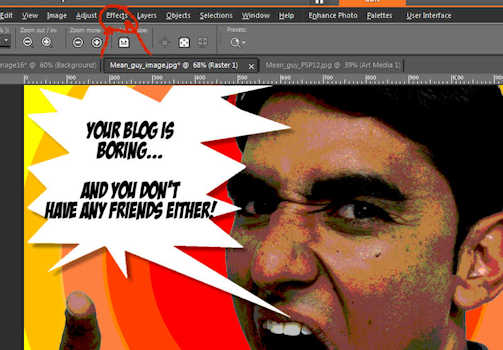
I added some effects by clicking on the effects menu at the top. It took me seconds to do this.
That’s all there is to it; fast and easy.
Now I know what you’re thinking…
You’re thinking “That image isn’t so great. Humph…Anyone can do that.”
And you would be right. However, I’m more concerned with creating good content than winning an award for beautiful images. So, the faster I can make these pictures…the better!!!
You Can Make Them Bigger, Better, Faster…
I know I just showed you how to make a super-fast image using PaintShop Pro, but you can make them better than that just as fast.
You just have to know how to HOW to make them.
Several years ago, when I set out to learn how to use PaintShop Pro, I did the usual thing – I went on YouTube.
The problem with watching instructional YouTube videos is that most of them are horrible. There are a lot of mistakes, the sound quality sucks, and the people that usually make them don’t edit them.
(There’s nothing I hate more than watching dead time on a video. You know, someone clicks on something and then waits 10 minutes for their program to react…Ugh!)
So I bought a book on how to use it. The problem with using a book of this nature is that it takes a long time to get through it.
There are pages and pages to learn and usually when someone buys a copy it just sits on their shelf.
So, I developed a way you can learn how to use PaintShop Pro fast and easy – I created a video series on how to use it.
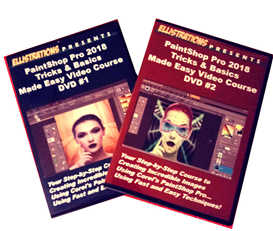
Enter PaintShop Pro 2018 Tips & Tricks…
Out of utter frustration, I decided to take action and create my own PaintShop 2018 Tricks and Basics Course.
I received my Master’s degree in Education Technology, so I know how to create instructional videos that can cut through all the crap.
Using this course you can make dynamic and eye-catching images in no time flat.
You’ll learn how to:
Organize PaintShop’s tools so you can get the job done faster
- How to use all of the tools in the tool pallet
- The fast way to fix red eyes in photos quickly
- How to use airbrush tools
- Taking a total crap image and transforming it into a dynamic picture
- Building incredible images using layers with multiple pictures
- How to remove scratches from images with ease
- How to create zombies, aliens, and barbarians
The best part?
You’ll learn exactly what you need to know quickly while cutting out all of the usual B.S. that online videos and textbooks throw at you.
All you will have to do is put the DVDs in your drive than watch and learn at your leisure and pace.
I didn’t have scads of money to plunk down to have loads of these created, so once they’re gone…they’re gone.
So if you want to learn how to use a powerful program that will make your online business life a million times easier, grab a copy of PaintShop Pro 2018 Tricks and Basics Made Easy today.
Conclusion
If you want to make your blog and post captivate the attention of your readers, use eye-popping images.
After reading this post you should be able to do it quickly and easily, so give it a try today.
If you got something out of this post, please leave a comment. I’d super appreciate it if you shared it. (If you do both of these favors for me, you’ll knock my socks off!)